- 1. “It worked on my machine” is not a test result
- 2. What was tested: 7 scenarios, 79 checks
- 3. The report at a glance
- 4. Evidence design: video, red-framed screenshots, database checks
- 5. Sandbox execution: an empty database and fictional data
- 6. Test 1 in detail: the 10 security checks
- 7. What the prompt actually specifies
- 8. How to run it on your own build
1. “It worked on my machine” is not a test result
Coding agents such as Claude Code produce something that looks finished alarmingly fast. The hard part comes afterward. If you intend to hand that app to a lab, a department, or an IT team that has to sign off on it, someone must exercise every feature and confirm it does what it claims. Done by hand, that pass is incomplete the first time and skipped by the third UI change.
The reviewer on the other side, whether a security officer, a procurement lead, or a senior engineer, asks a fair question: “Was this actually tested, or did it just run once on the author’s laptop?”
The Claude Code starter kit this article is about answers that question with a prompt. The prompt makes the AI write the tests, run them, fix what fails, re-run until everything passes, and leave behind a report backed by video, screenshots, and database checks. This article walks through the report that prompt produced for the English build of the app. The next article covers the six bugs the loop found and fixed along the way.
2. What was tested: 7 scenarios, 79 checks
The system under test is the Streamlit app that the kit’s first prompt builds: a local research workstation that uses Ollama for inference, ChromaDB for vector search, and faster-whisper for transcription. Document search with citations (RAG), Word / Excel / PowerPoint / BibTeX exports, and meeting minutes from audio all run on the one machine.
The test prompt fixes seven scenarios. The runner it generated produced these counts:
| No | Test | Checks |
|---|---|---|
| 1 | App startup and security checks | 10 / 10 |
| 2 | Project creation and management | 14 / 14 |
| 3 | Multi-format document upload and RAG filtering | 14 / 14 |
| 4 | Prompt management (CRUD) | 12 / 12 |
| 5 | Chat conversation and citation display | 11 / 11 |
| 6 | High-value exports | 8 / 8 |
| 7 | Voice minutes tab | 10 / 10 |
Seventy-nine checks in total, all passed. The model was gemma3:4b, the viewport 1920×1080, the target localhost:8501 started against a sandbox database.
A few of the checks are worth picking out, because they go well beyond “the button exists”:
- Test 3 registers four fictional files (PDF, TXT, CSV, MD), then types “Marine” into the filename search and asserts that only the CSV remains; typing “.pdf” leaves only the PDF. “Clear all” must turn every checkbox off and the caption must read “In scope: 0 / 4 file(s)”; “Select all” must bring it back to “4 / 4”; switching two files off individually must give “2 / 4”.
- Test 5 sends a question and compares the on-screen count chips against expected values: “CJK 0 chars / Words 21 / Total 114 chars” for the question, “CJK 0 chars / Words 36 / Total 221 chars” for the answer. It then checks that every citation comes only from the two documents that were ticked, and that clicking a citation number expands the original passage.
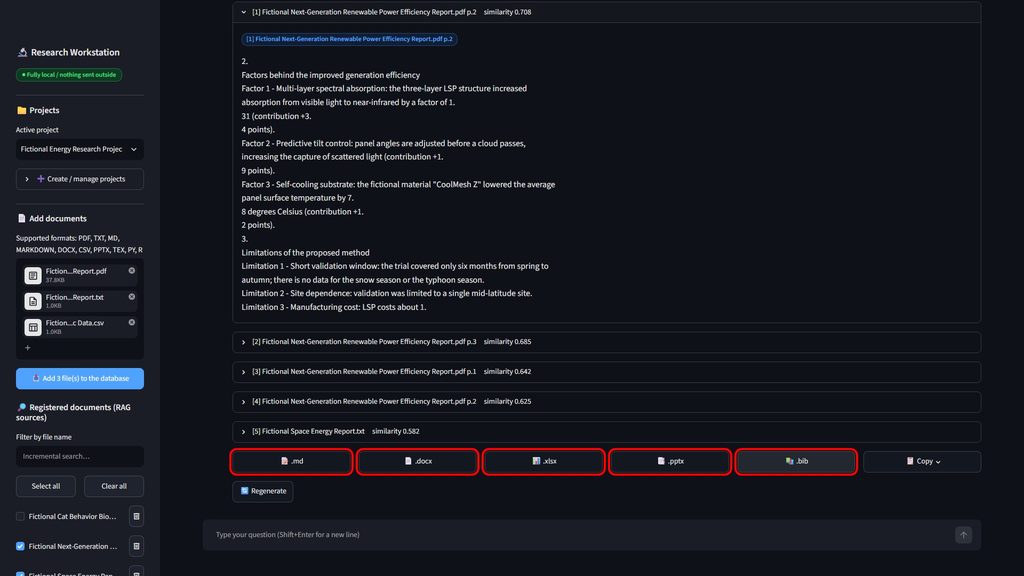
- Test 6 downloads all five export formats and reopens each with its own library: the Markdown file at 1,762 bytes, the .docx at 37,527, the .xlsx at 6,563, the .pptx at 31,133, and the .bib at 741.
3. The report at a glance
The prompt dictates the report layout, and the reason is organizational rather than technical: a manager or a buyer should be able to decide from the first screen. The report therefore opens with the overall verdict (PASS or FAIL), the total number of tests, how many passed, and, the unusual line, how many bugs were fixed automatically. The seven-row summary table follows immediately.
For this run, the first screen reads: Overall verdict PASS, 7 tests, 79 / 79 verification checks, 6 bugs fixed automatically. Below the summary, each scenario gets its own section with “What was tested”, a short explanation, a table of every verification item with its result and a detail column holding the values actually observed, and the numbered screenshots for that scenario. Four appendices close the report: the downloaded export files with their sizes, the fictional test data, the server-log inspection, and the automatic bug-fix log.
4. Evidence design: video, red-framed screenshots, database checks
The guiding rule in the prompt is “evidence, not assertions”. Each report carries five kinds of it.
A full-session video (.webm, 1920×1080). The entire run is recorded as one video. So that a human can actually follow it, the prompt forbids “extremely fast automated interaction”: a wait of 1,000 to 1,800 ms is inserted between inputs, clicks, and page transitions, and text is typed one character at a time with a 50 ms delay.
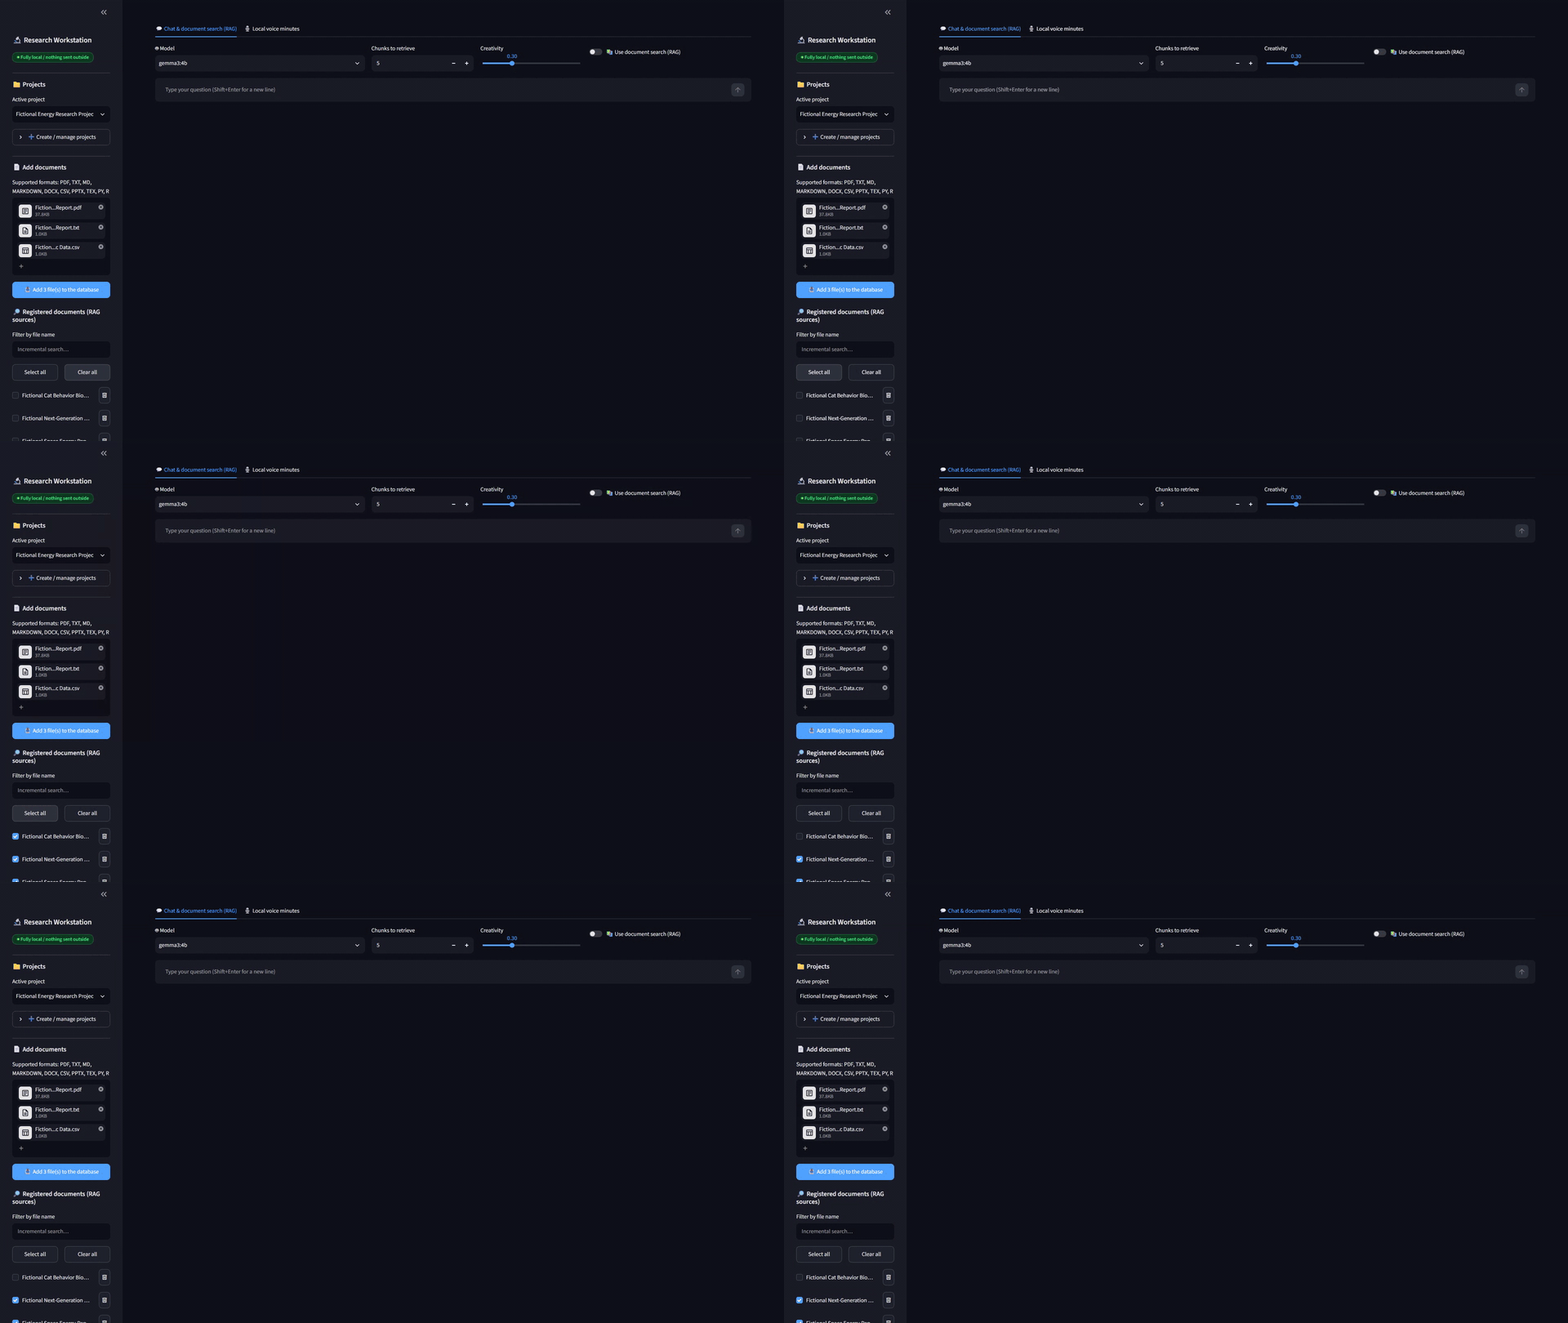
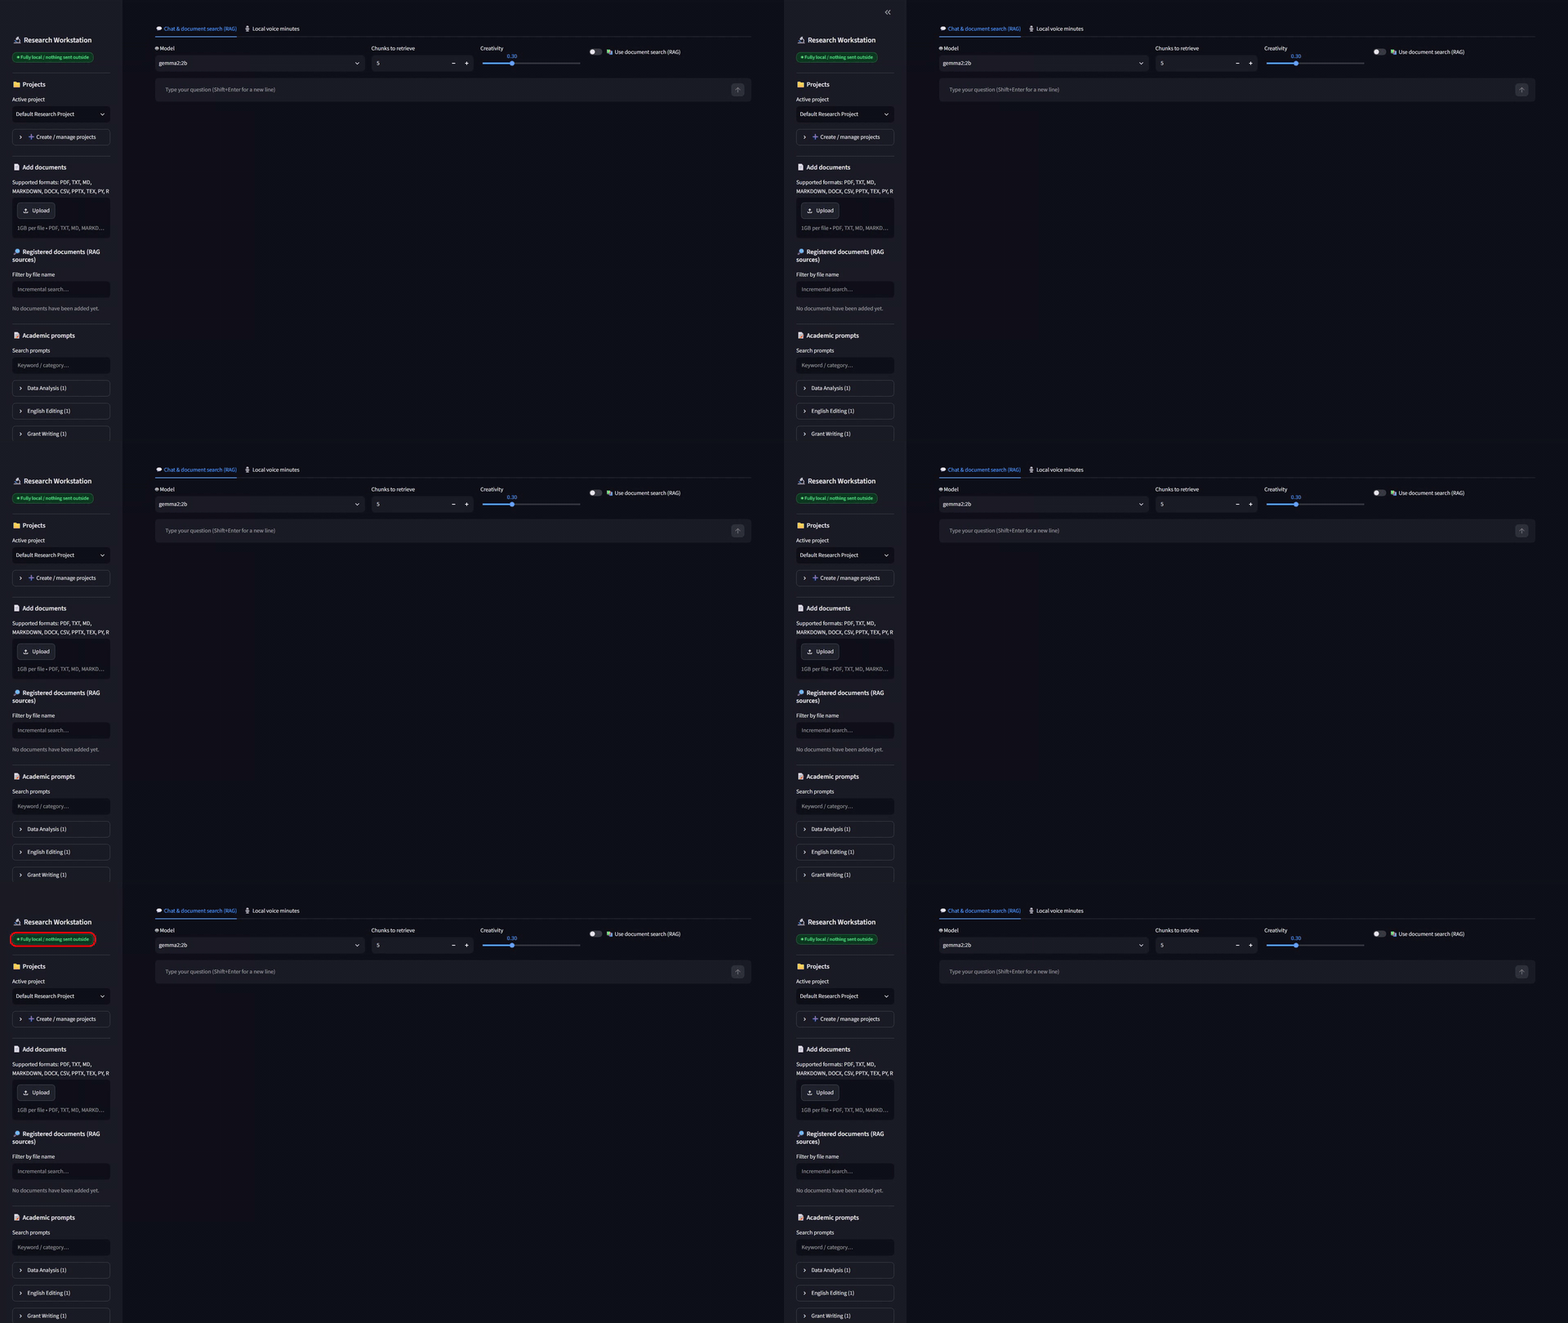
Red-framed screenshots in PNG and JPG. Immediately before each interaction, the runner scrolls the target into view, applies outline: 3px solid #FF0000 to it, captures the full screen, and removes the outline again. Every shot is saved twice, PNG for fidelity and JPG for pasting into documents, under a sequential name such as step_12_clear_all_button. This run produced 37 numbered screenshots, from the startup check to the return to the chat tab.
Direct SQLite checks. The screen is not trusted on its own. After creating a project, adding a prompt, editing it, or deleting it, the runner opens app_data.db and runs a SELECT to confirm the row really appeared or disappeared. The detail column in the report shows what came back, for example [(9, 'Automated Test', 'This prompt was added by the automated test.')]. This is how you catch the classic “UI updated, database did not” bug.
Downloaded files reopened with their libraries. An export button that produces a file is not enough. Each downloaded .docx, .xlsx, .pptx, .bib and .md is loaded again with the library that would normally read it, and its content is checked, before the row turns green.
Server-log inspection. The Streamlit process writes to a log file inside the sandbox, and the report’s Appendix C states whether a traceback appeared anywhere in it. For this run: none.
5. Sandbox execution: an empty database and fictional data
The runner never touches your working data. It copies the app files into a temporary folder, rewrites the Streamlit config to the first free port starting at 8501, starts the app there with an empty database, and deletes the folder when it is done. Your everyday app_data.db and chroma_db/ are left exactly as they were.
The documents it ingests are generated by the runner itself and are entirely fictional: Fictional_Urban_Traffic_Simulation_Paper.pdf, Fictional_Quantum_Sensor_Experiment_Report.txt, Fictional_Marine_Microbe_Sample_List.csv, Fictional_Lab_Meeting_Notes.md, plus a short Fictional_Seminar_Recording_Test_Audio.wav. The project names are Test_Project_Alpha and Test_Project_Beta_ToDelete. No real paper, person or organization appears anywhere, which means the screenshots and the video can go straight into an internal review document or a blog post without redaction, with one exception covered in the next section.
6. Test 1 in detail: the 10 security checks
If an app calls itself local, this is the scenario that matters most to the people who have to approve it. Test 1 checks ten things:
- The page displays correctly at
http://localhost:8501. - The health endpoint
/_stcore/healthreturns 200. - The Deploy button is hidden (0 in the DOM, 0 visible).
- Streamlit’s default menu (MainMenu) is hidden (0 in the DOM).
- The toolbar is hidden (0 in the DOM).
- The header is hidden (1 in the DOM, 0 visible).
- The word “Deploy” does not appear anywhere on screen.
- The dark-mode background color
#0E1117is applied (the report recordsrgb(14, 17, 23)). - The app is not reachable from the LAN-side IP address; it is bound to 127.0.0.1 only.
- No exception or error is displayed on screen.
Item 9 deserves a closer look. The runner does not read config.toml and declare victory. It determines the machine’s own non-loopback address, then actually attempts to connect to that address on the test port and asserts that the attempt fails. The configuration says the door is locked; the test walks around the building and pulls on the handle.
One practical consequence: the detail column of that row prints the machine’s LAN address. If you ever publish a screenshot of the report, mask that row first. The runner does not write the address anywhere else.
7. What the prompt actually specifies
The test-automation prompt is about 850 words. Roughly, it tells Claude Code to:
- Keep the test script separate from the product code, in a dedicated file such as
test_automation_runner.py. - Run an autonomous bug-fix loop: if an exception, a missing UI element or a Streamlit traceback screen is detected during a run, locate the cause in the application code, fix it, and re-run until every test passes.
- Append the session log, the bugs found, the diffs of the fixes and the result summary to the project’s
AI_notes.md. - Write the output to
test_results_{timestamp}/withscreenshots/,video/,test_data/and the report Markdown. - Meet the evidence quality bar: a 1920×1080 viewport,
page.wait_for_timeout(1000-1800)between actions,page.type(selector, text, delay=50),scroll_into_view_if_needed()before every interaction, the redoutline: 3px solid #FF0000highlight applied and then removed, PNG and JPG for every step. - Cover the seven scenarios, with specific non-negotiables spelled out, for example that “Clear all” must turn every checkbox in the list OFF and “Select all” must turn every one ON.
- Follow the report template: overall verdict, totals, bugs fixed automatically, then one section per test with “What was tested”, “Explanation” and the screenshot.
What it does not specify is the implementation: which selectors to use, how to wait for Streamlit’s re-render, how to read a checkbox state from the DOM. That is left to Claude Code. The human writes down what must be true; the agent works out how to prove it.
8. How to run it on your own build
The kit ships the runner that this prompt generated, as reference code. If you are using the reference app as-is (Pattern A in How_to_Use.md), add Playwright and Pillow to the environment, make sure Ollama is running, and run:
.venv\Scripts\python.exe test_automation_runner.py
.venv\Scripts\python.exe test_automation_runner.py --headed --model gemma3:4b
(On macOS or Linux, use .venv/bin/python.) This is Pattern C in the guide and takes about 10 minutes. A new test_results_<timestamp>/ folder appears with the report, the video, the screenshots and the test data.
If you have changed the app, or built your own from the first prompt, point Claude Code at the test prompt instead and edit the “Test scenarios to verify” section to match your features. Two cautions:
- Prompt 2 fixes the bugs it finds, which means it rewrites
app.pyand other files. Back up the whole folder, or runexport_all.bat/export_all.sh, before you start. - Claude Code sends the working folder to Anthropic while it works. Run it in a folder that contains nothing confidential. The finished app, and the finished test runner, never need Claude Code again.
コメント