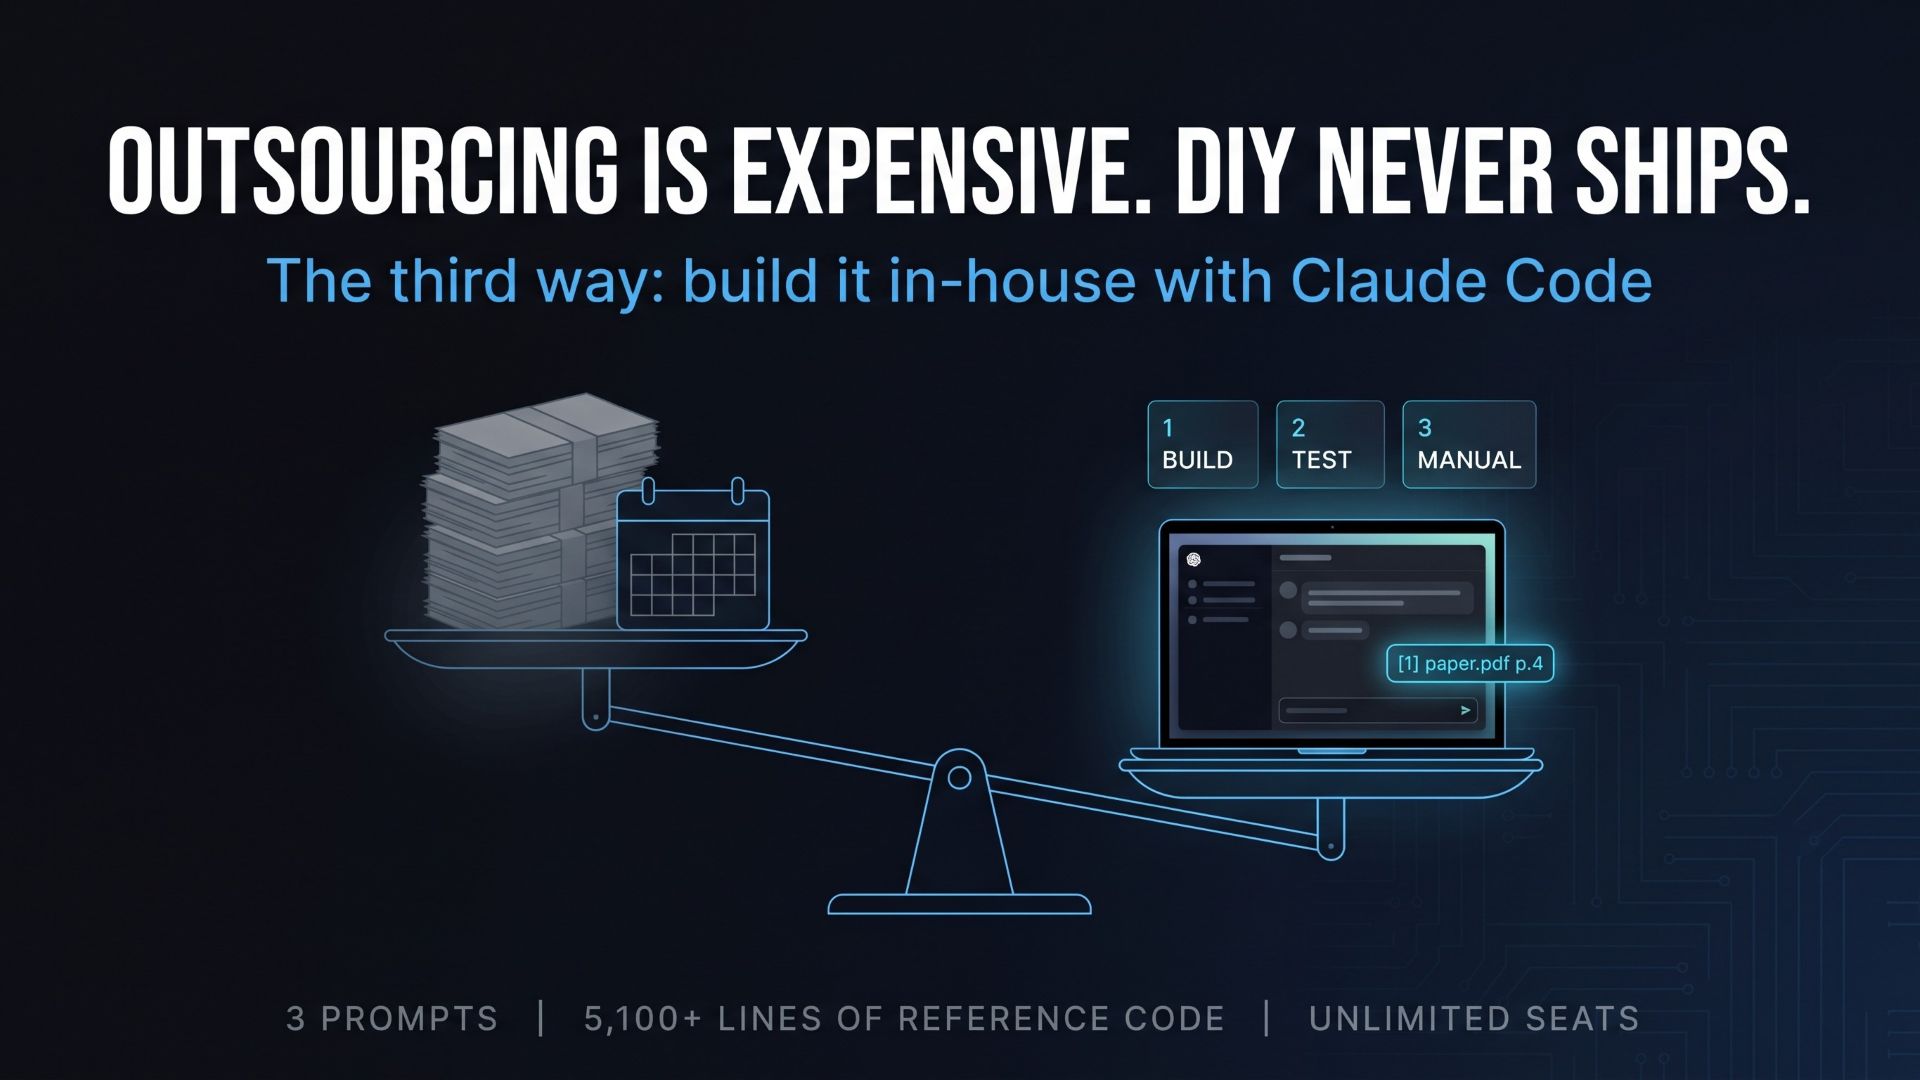
You were handed “build us an internal AI tool”. You got a quote; it had five figures and started with a requirements workshop. You tried to build it yourself; a month later the RAG design is still on a whiteboard. This article walks through the third option: handing three prompts and a set of reference code to Claude Code and letting it build the app, test it, fix what breaks and write the manual, with the run times we measured during development.
- 1. Why the vendor quote comes back with five figures
- 2. Where do-it-yourself builds stall
- 3. The kit’s idea: hand the agent a spec and a worked answer
- 4. Walkthrough: three prompts, in order
- 5. What the prompts actually specify
- 6. How long each prompt ran during development
- 7. When the output drifts: “match this implementation”
- 8. The batch runner and its warning label
- 9. The honest cost of building in-house
- 10. How to start
1. Why the vendor quote comes back with five figures
Ask a development shop for “a local AI tool with RAG” and the proposal lists requirements analysis, design, implementation, testing, documentation and maintenance. The quote typically comes back with five figures, and it is not a rip-off. Deciding the specification and verifying the result are what take the time. Writing the code is a smaller slice than most people assume.
2. Where do-it-yourself builds stall
Decide to build it in-house instead, and the project stalls in predictable places:
- Choosing a chunk size and designing the vector store.
- Making a citation actually point to page 4 of the right PDF.
- It looks like it works, but there are no tests, so you cannot roll it out to the team.
- Nobody has time to write the manual, so in the end you are the only person who can use it.
Asking a coding agent to “build a RAG app” in one line solves none of these. A vague prompt gives you a vague app.
3. The kit’s idea: hand the agent a spec and a worked answer
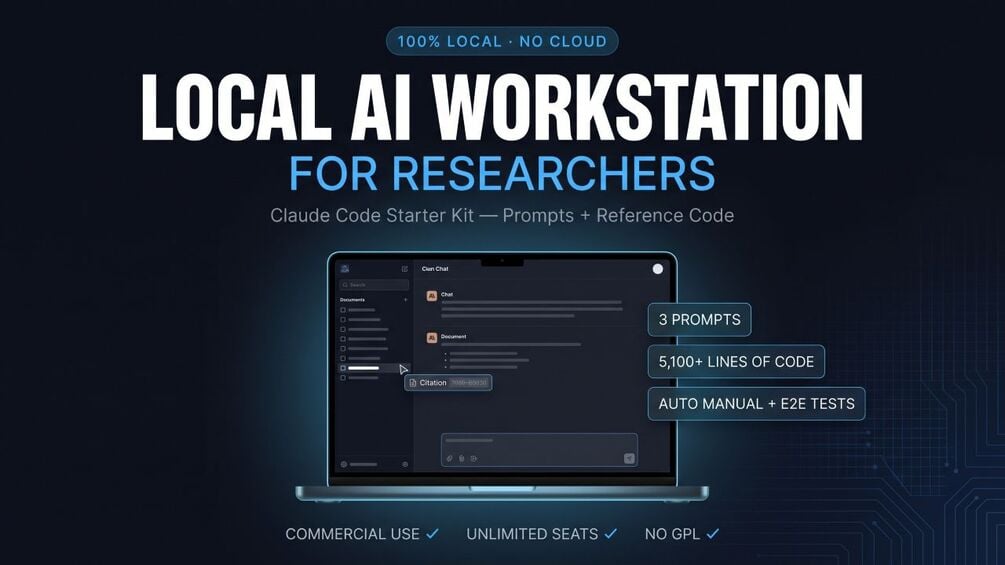
The Local AI Workstation starter kit does the specification and verification work up front and hands it to you:
- Three prompts, for the app build, the E2E test automation with auto bug-fix, and the manual generation. Each is about 850 words, with the file layout, the security constraints, the license constraints, the output folders and even the report headings already specified.
- Reference code: 9 Python modules, 5,100+ lines, actually produced by those three prompts. When the generated output drifts, this is the worked answer you point at.
- A how-to guide with three usage patterns, a customization map and a 20-row troubleshooting table.
4. Walkthrough: three prompts, in order
This is “Pattern B” in the guide: one prompt at a time, confirming each operation. It is the pattern recommended for a first run.
- Create an empty working folder (for example
research_ws) and copy the bundledtasksfolder andrun_pipeline.pyinto it. - If you want to customize, edit the prompts first. Supported file formats, the default model and the chunk size live in Prompt 1 under “Main stack” and “Functional requirements to implement”; the heading structure of the minutes is in Prompt 1 under “Tab 2”; the test items are in Prompt 2 under “Test scenarios to verify”; the manual’s scenario and the theme of its dummy documents are in Prompt 3 under “Scenario design”.
- Open the folder in VS Code and start
claudein the terminal. - Run Prompt 1:
Read tasks/01_app_build_prompt_local_ai_workstation_for_researchers.md and carry out the work exactly as instructed.
- When it finishes, confirm that the app starts with
start.bator./start.sh. - Run Prompt 2 (tests and auto bug-fix) and Prompt 3 (manual generation) the same way, in order. Prompt 2’s deliverables land in
test_results_<timestamp>/, Prompt 3’s inmanual_<timestamp>/.
One caution: Prompt 2 fixes the bugs the tests find, which means it rewrites app.py and other files. Back up the whole folder before running it.
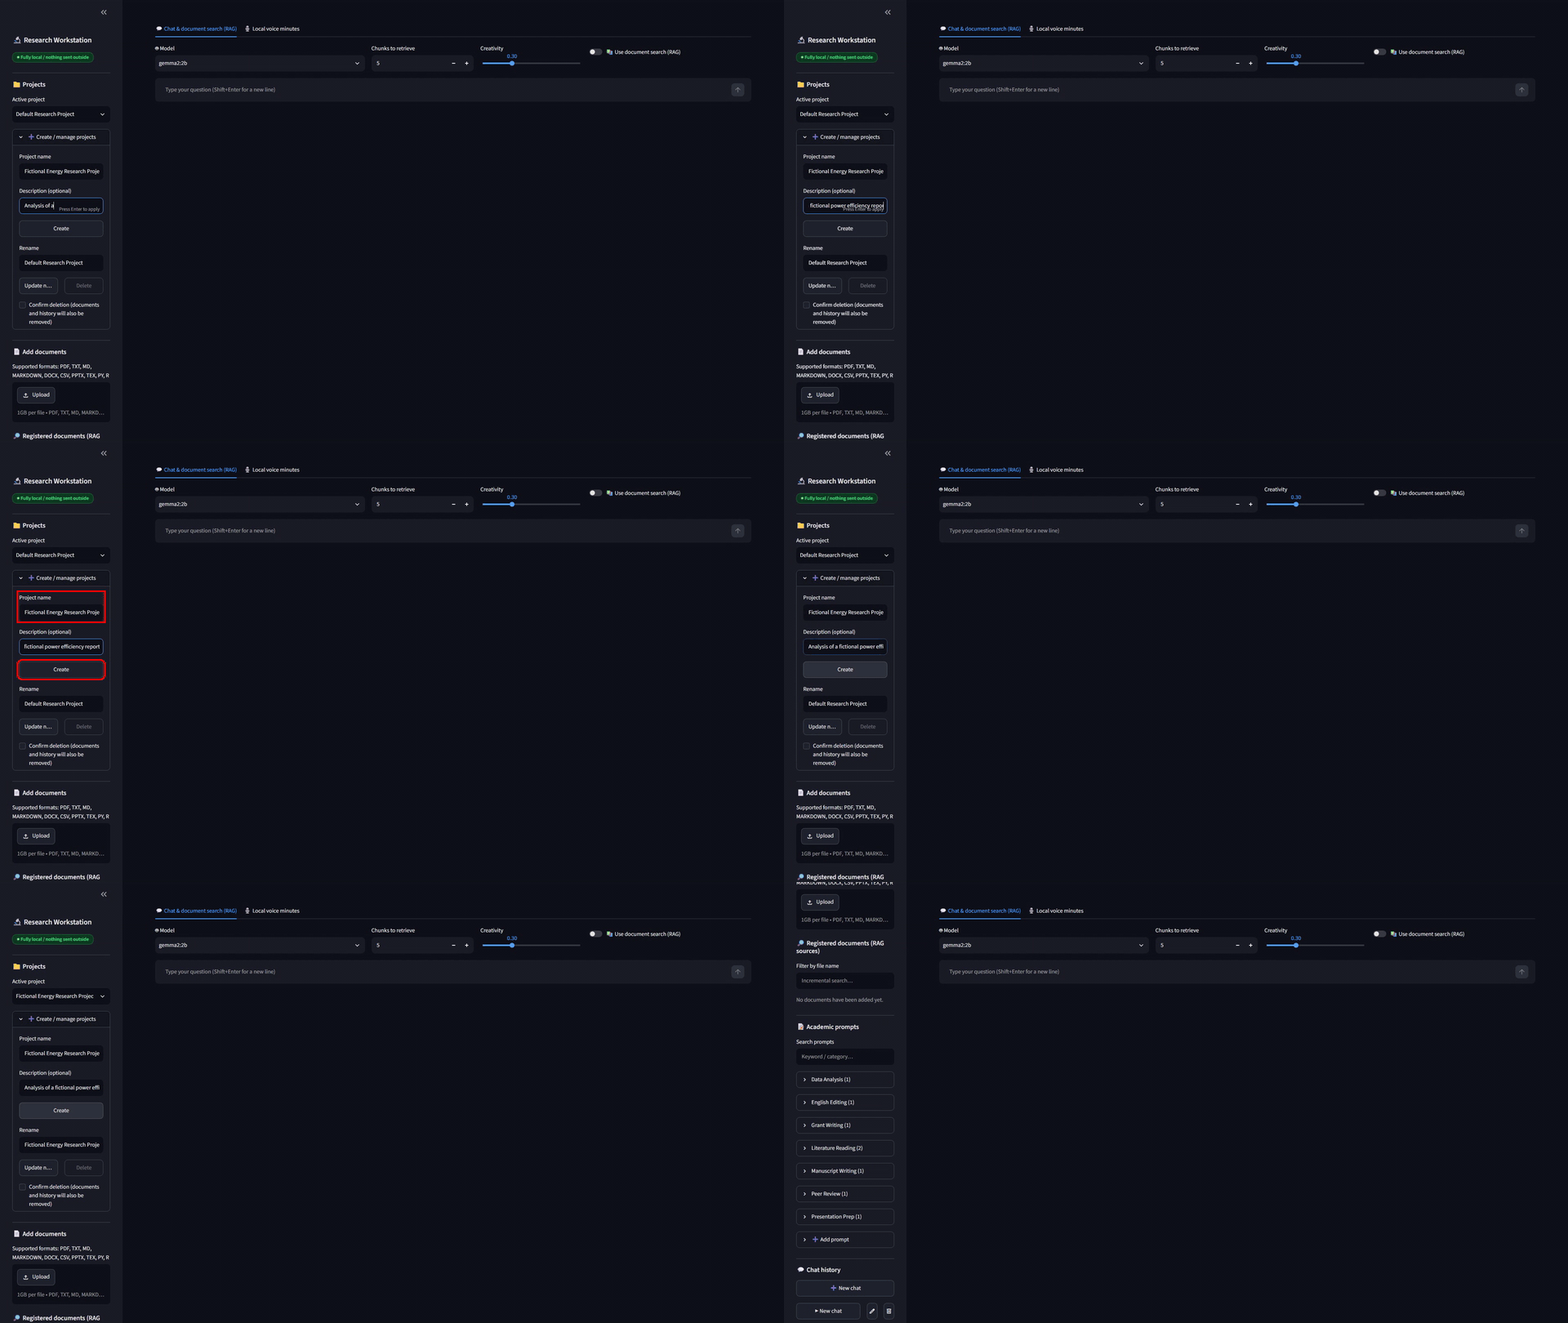
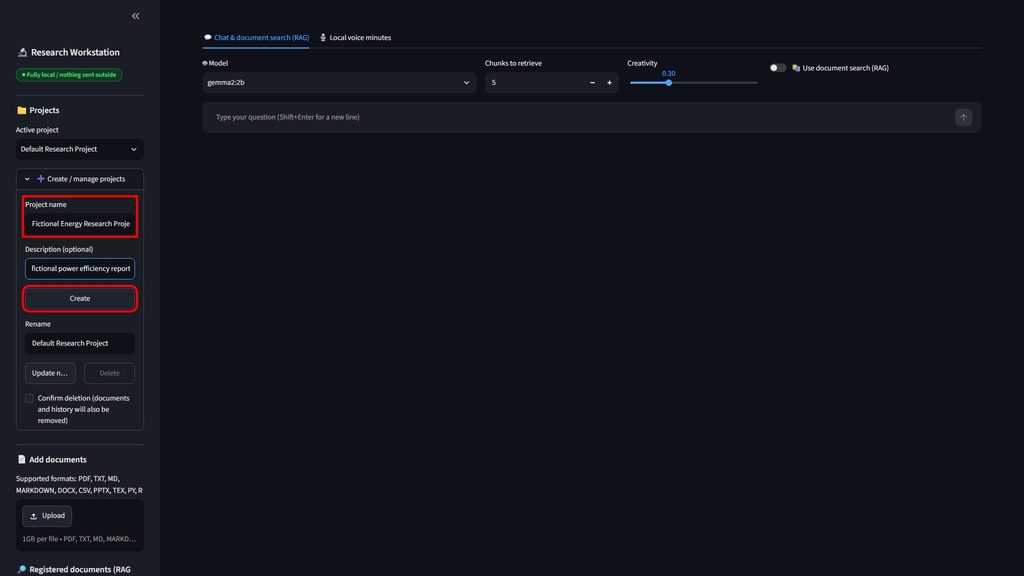
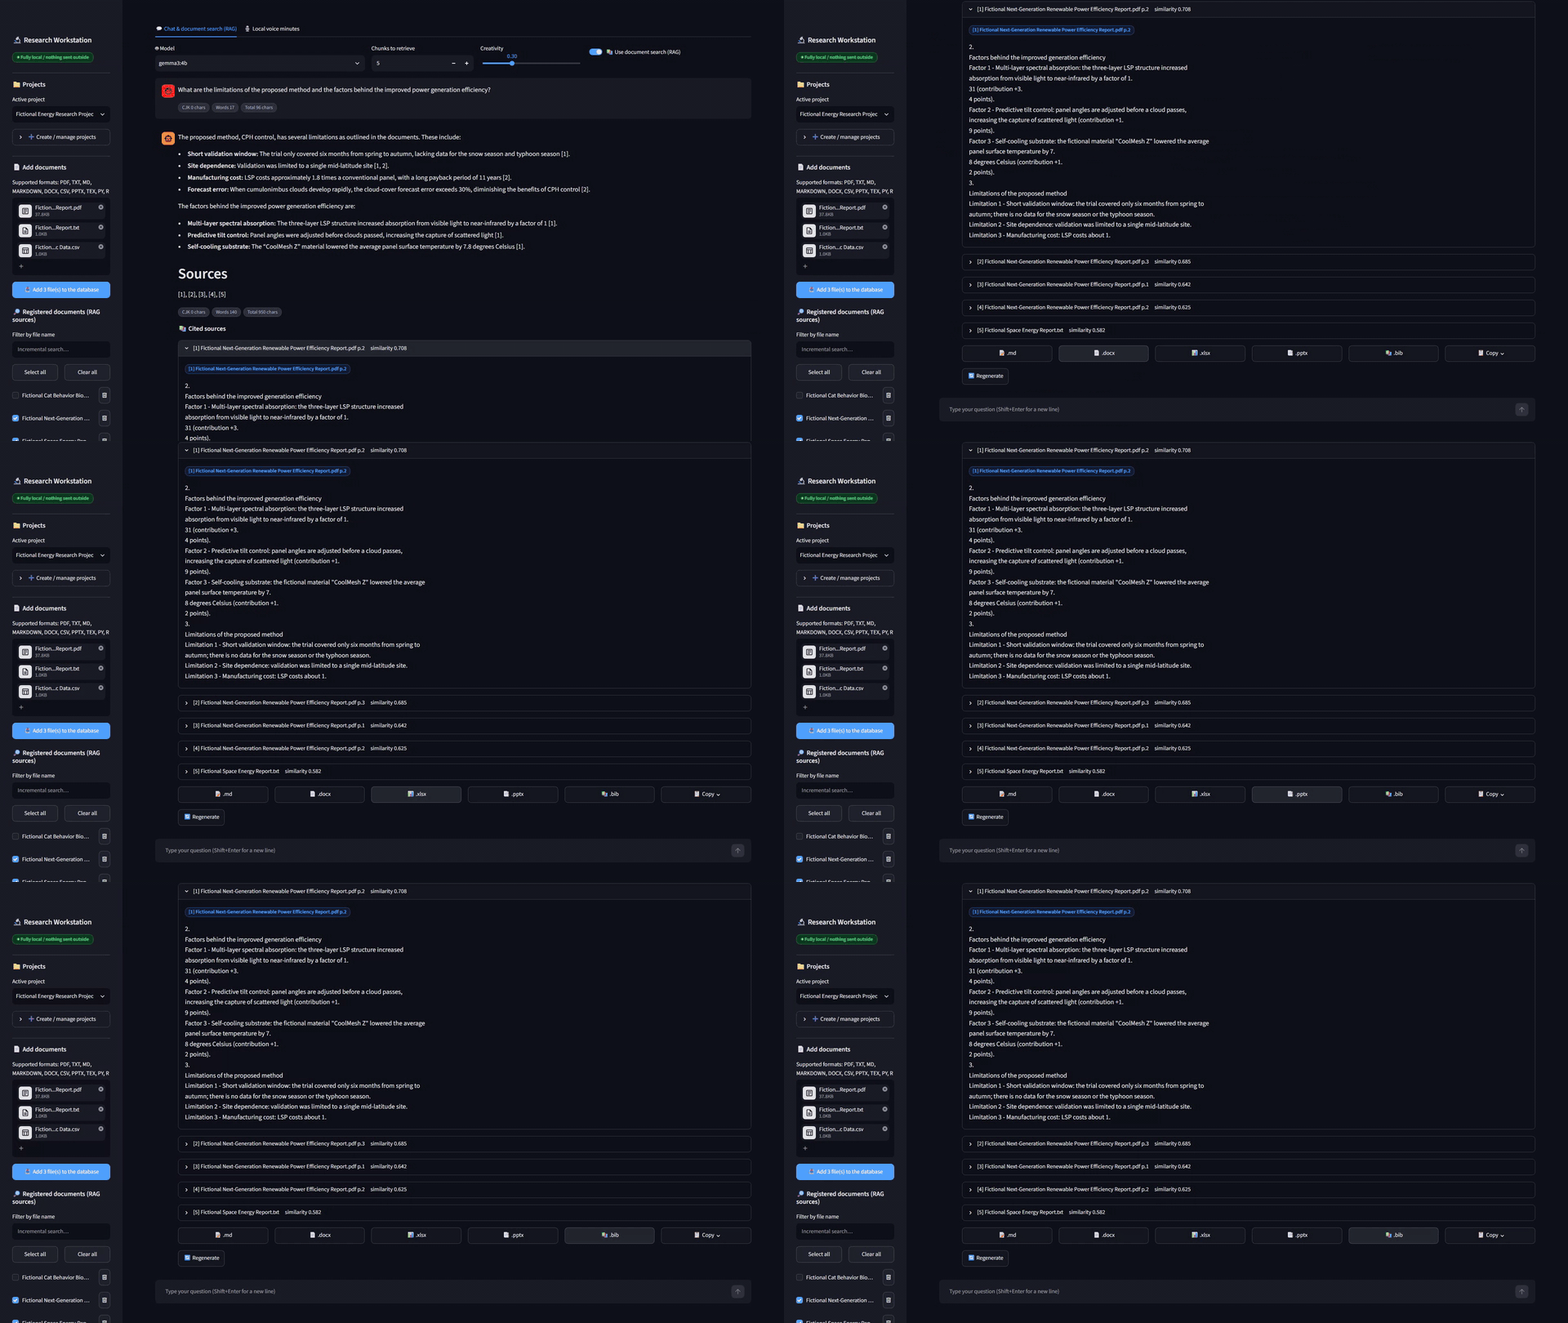
I am deliberately not pasting Claude Code’s terminal output here; it contains details of the development machine. Here is what came out the other end instead.
5. What the prompts actually specify
The reason three prompts can replace a requirements workshop is that they are not one-liners. They read like specifications. A few examples of what is written down:
- Prompt 1 (app build) opens with “Preconditions and constraints”: send no data to any external cloud; bind to 127.0.0.1; hide Streamlit’s header menu and Deploy button with CSS; dark theme by default; only libraries that are free for commercial use (MIT, Apache 2.0, BSD), with GPL-family dependencies strictly prohibited; SQLite for metadata and ChromaDB with Ollama embeddings for RAG; faster-whisper for transcription. It then lists the stack, the functional requirements for both tabs and a recommended directory layout (
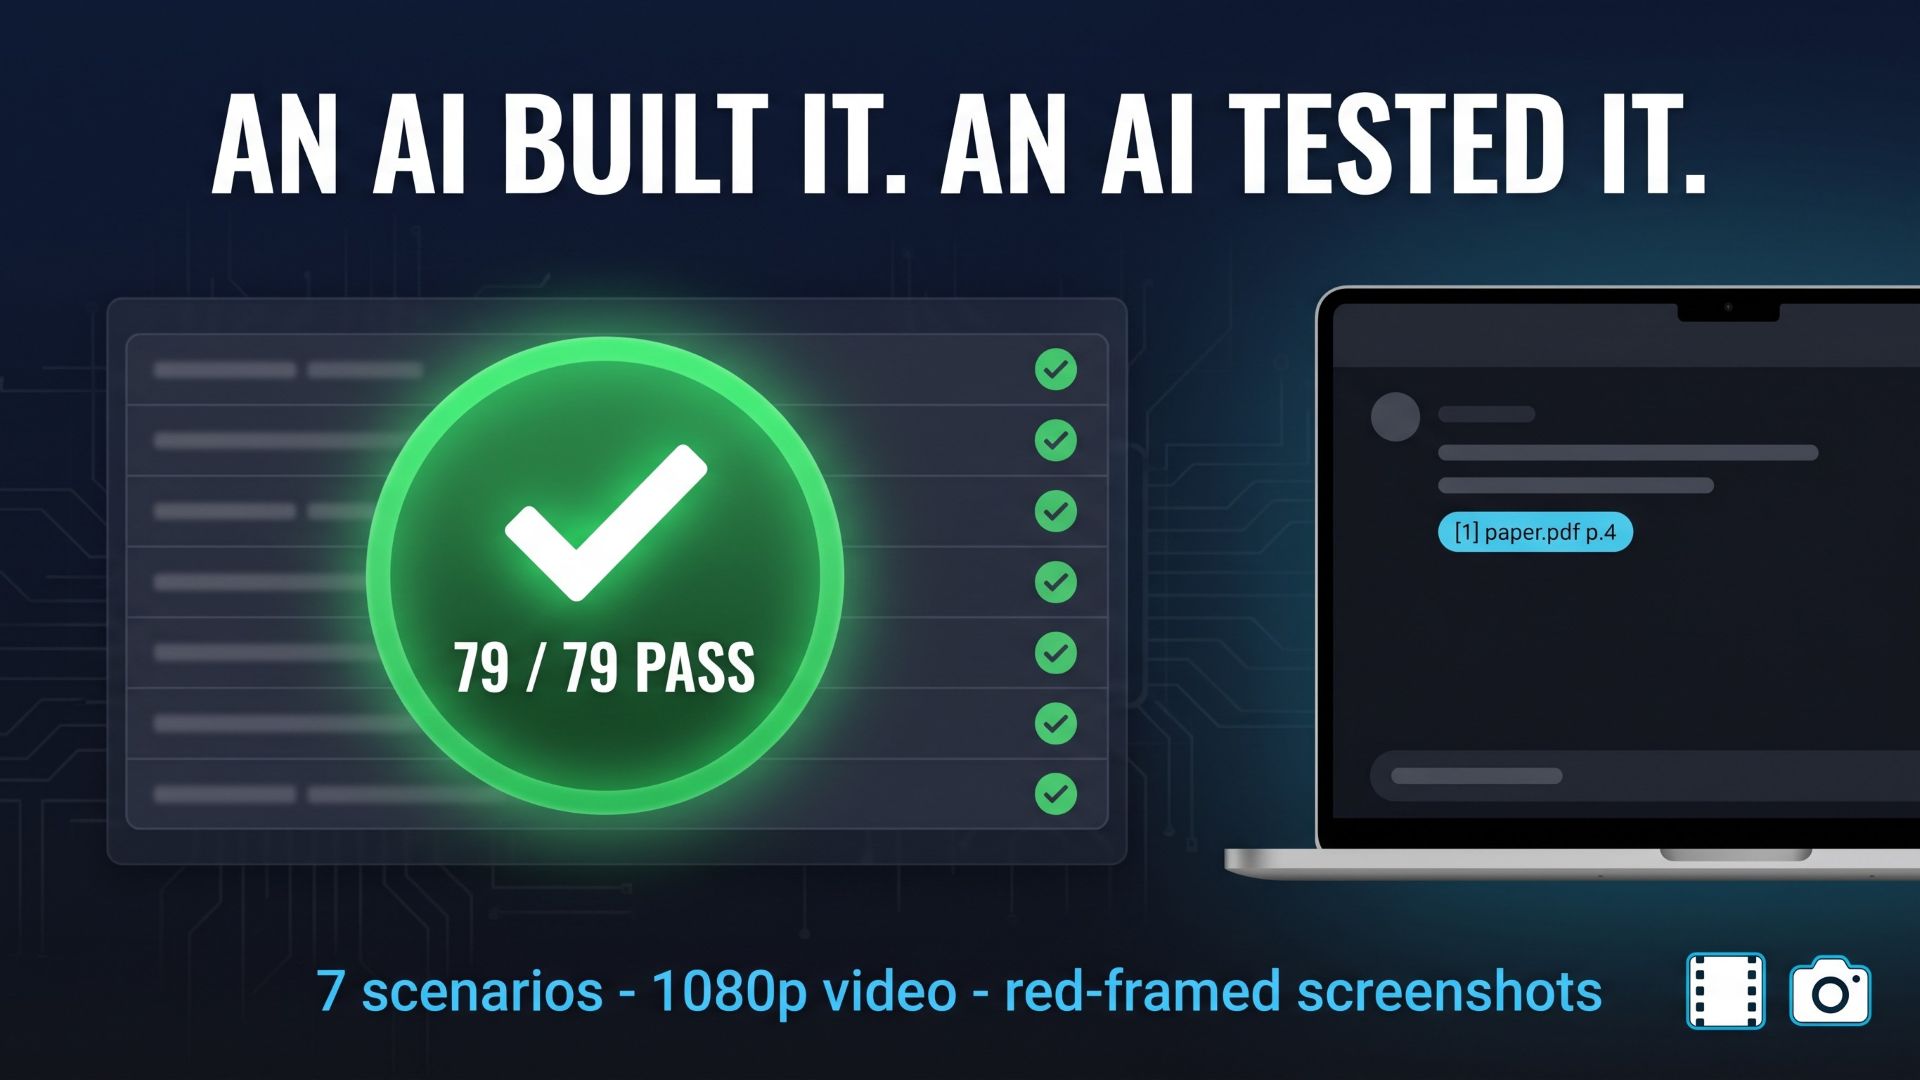
app.py,database.py,rag_engine.py,audio_transcriber.py,exporters.py, the launch and backup scripts,.streamlit/config.toml), and it ends by telling the agent to run a startup test. - Prompt 2 (tests and auto bug-fix) defines seven test scenarios: startup and security, project management, multi-format upload and RAG filtering including select all / clear all, prompt CRUD, chat and citations, exports, and the voice minutes tab. It states the acceptance rule: when a test detects an exception or an error screen, locate the cause, fix it and re-run until every test passes. It also fixes the output folder (
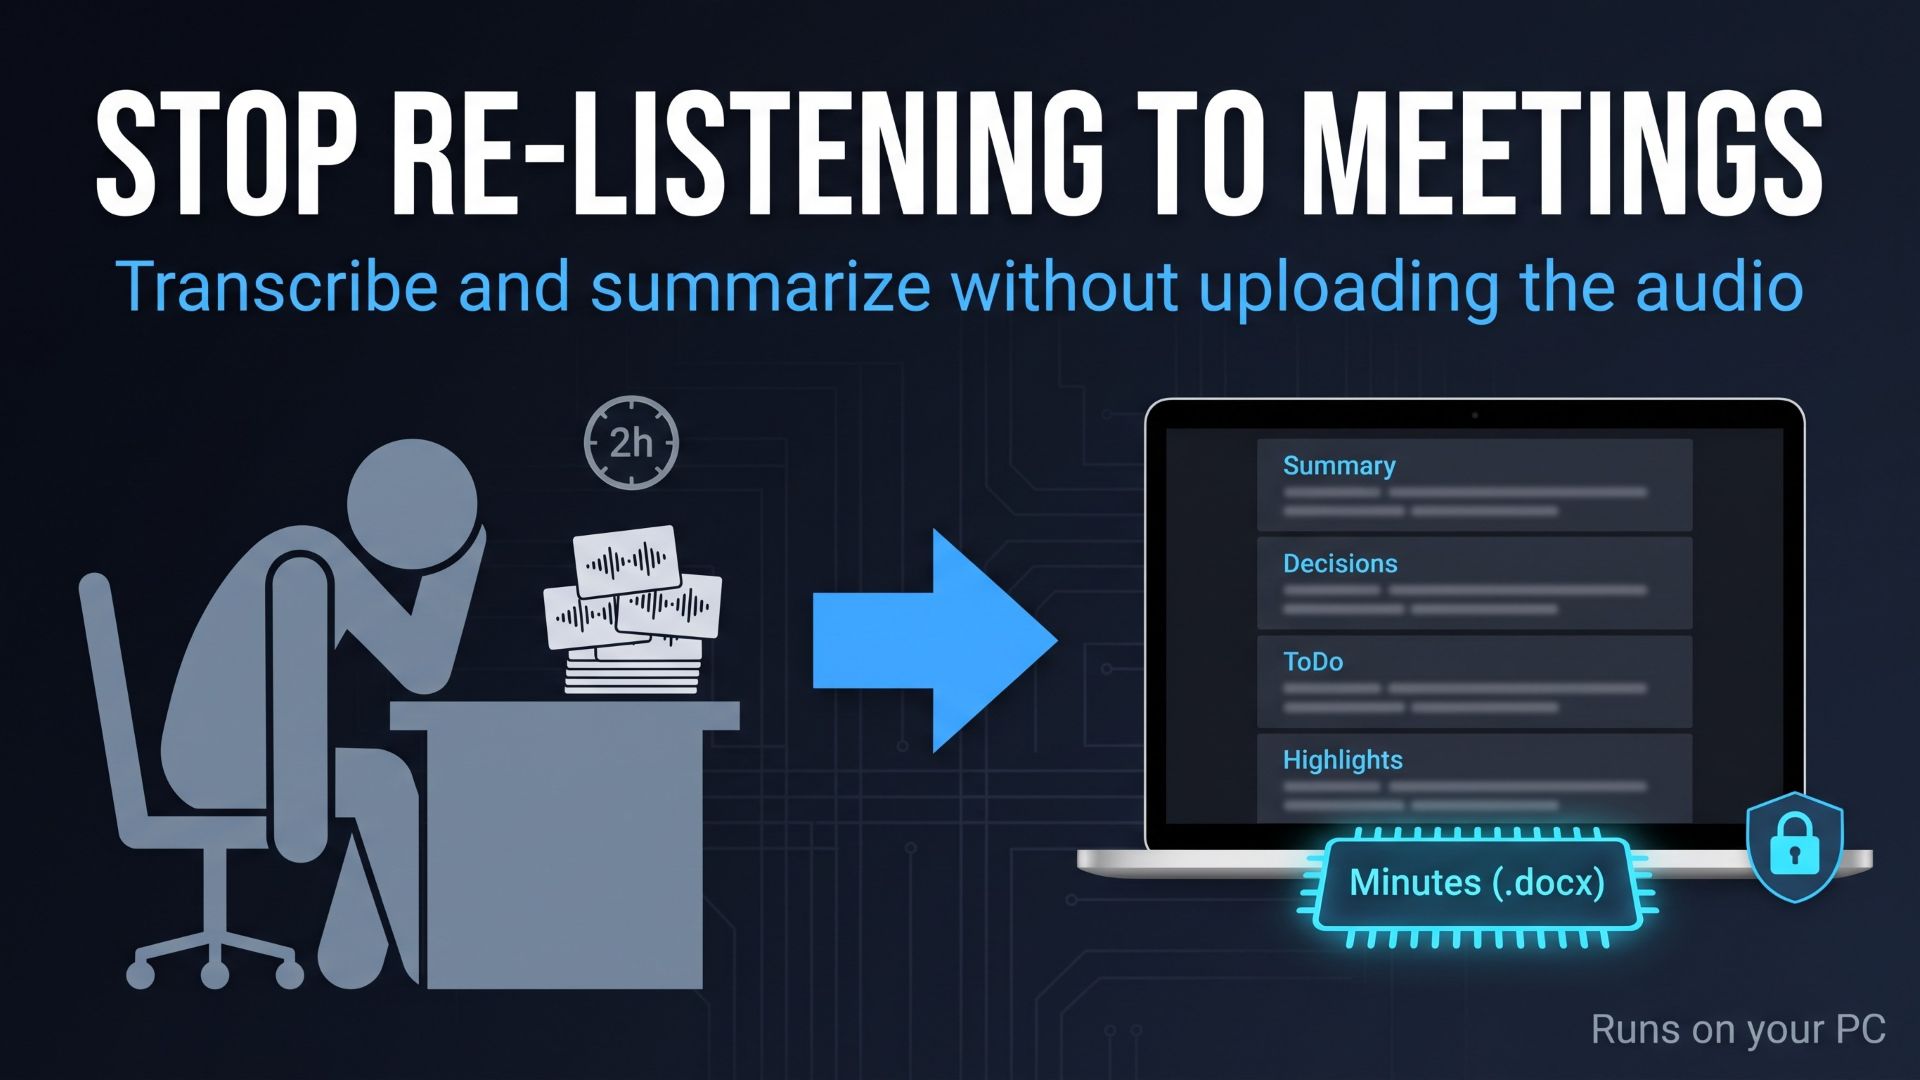
test_results_{timestamp}/with screenshots, video and test data), the evidence quality (1920×1080 video, a wait between actions, red-framed PNG and JPG screenshots) and the exact structure of the report. - Prompt 3 (manual generation) requires entirely fictional dummy data, with an example author “Taro Fictus” at “Neo Fictional University, Institute of Virtual Energy Engineering”, so nothing real ever appears on screen. It then scripts an eight-step scenario from creating a project through exporting Word and BibTeX to the voice minutes tab, and specifies the structure of the resulting Markdown manual.
That is the work you are buying: the decisions already made and written down in a form an agent can execute.
6. How long each prompt ran during development
| Prompt | Rough run time |
|---|---|
| 1. App build | About 20 minutes |
| 2. E2E tests and auto bug-fix | About 45 minutes |
| 3. Manual generation | About 30 minutes |
These will vary with your PC, the model and your network, and you do not have to sit and watch. During the Prompt 2 run, 7 tests with 79 verification checks all passed, and 6 real bugs were detected and fixed along the way. Prompt 3 produced 16 red-framed screenshots, a walkthrough video and an eight-section Markdown manual.
If you only want to see the result first, the guide’s other two patterns are quicker. Pattern A runs the reference code as-is in 15-30 minutes. Pattern C runs the manual generation and the test suite against the reference code in about 10 minutes each. Pattern B, building from the prompts, is 1-2 hours including the AI’s run time.
7. When the output drifts: “match this implementation”
Generative AI output varies. The app Claude Code builds for you will not be identical to the reference code. That is the premise, not a bug. When a difference matters, point at the reference file and ask:
Referring to the implementation in reference_code/app.py, fix the problem where the checkbox state persists when switching projects.
Having a known-good answer turns “design this” into “close this gap”. That is the single biggest time saving in the kit.
A side benefit: the bundled fix log, test_automation_bugfixes.json, documents six real bugs the test loop caught in this very app. Three of them share one root cause: a keyed Streamlit widget prefers its own session state over the value= you pass it. If your team builds Streamlit tools, that file is worth reading before the next one.
8. The batch runner and its warning label
The kit also includes run_pipeline.py, which feeds the three prompts to Claude Code in numerical order and logs each run to logs/:
python run_pipeline.py --model sonnet     # run everything from the beginning
python run_pipeline.py 1 --model sonnet   # resume from the second prompt
Read the warning label before you use it. The script runs Claude Code with --dangerously-skip-permissions, which means every file operation and command runs without a human confirming it. Use it only in an empty folder dedicated to this kit, or on a validation PC or virtual machine. Never run it in a folder that holds confidential data, personal information or other work files. If you are at a company, check first that your information security policy allows it. If any of that gives you pause, use Pattern B and confirm one prompt at a time.
And the rule that applies to both patterns: when Claude Code runs a prompt, the contents of the working folder are sent to Anthropic’s service. Build in an empty folder; use the finished app locally. Keep those two activities apart, always. The built app never needs Claude Code.
9. The honest cost of building in-house
- The kit: $349, one-time, unlimited seats inside the purchasing organization, commercial use permitted.
- Claude Code usage: billed separately by Anthropic, through a paid plan or API credit. Three prompt runs plus a few rounds of fixes is a real line item; budget for it.
- People’s time: a few hours to a few days for adjusting the prompts, reviewing the output and setting up the environment.
- Support: there is none. Common problems and fixes are in the guide’s 20-row troubleshooting table; beyond that, the official documentation for Claude Code, Ollama, Streamlit, faster-whisper and Playwright is your reference.
It is a different order of magnitude from a vendor quote, but it is not zero. If you can accept those terms, building in-house is a realistic option, and you keep the spec, the code and the test harness.
10. How to start
You need Python 3.10-3.12, Ollama (ollama pull gemma3:4b and ollama pull nomic-embed-text), VS Code, Node.js and Git, and Claude Code. The sequence that is hardest to get wrong: start with Pattern A, running the reference code as-is in 15-30 minutes, so you know what you are aiming at. Then switch to Pattern B and rebuild it your way.
コメント